Your refrigerator runs around the clock, 24 hours a day, 365 days a year — and the door gasket is one of the hardest-working components in the whole machine. That flexible rubber seal around the perimeter of your fridge and freezer doors is what keeps cold air in and warm, humid air out. When it fails, your refrigerator has to work significantly harder to maintain its temperature — and your energy bill rises to match.
At Tri-City Repairs, we inspect and replace refrigerator door gaskets throughout Coquitlam, Port Coquitlam, and Port Moody. It’s a repair that’s often overlooked because the gasket fails gradually — not all at once. This guide shows you how to identify a failing gasket, test whether yours needs replacing, and what the replacement process involves.
What Does a Door Gasket Actually Do?
The door gasket (also called a door seal) creates an airtight barrier when the refrigerator door is closed. It does two critical things:
- Keeps cold air inside — preventing temperature loss every time the door is closed.
- Keeps warm, humid air outside — preventing condensation and frost buildup inside the compartment.
When the gasket seals properly, the refrigerator maintains its set temperature with minimal compressor run time. When it doesn’t, the compressor runs nearly continuously, wearing out faster and consuming significantly more electricity.
Signs Your Refrigerator Door Gasket Is Failing
1. Visible Cracks, Tears, or Deformation
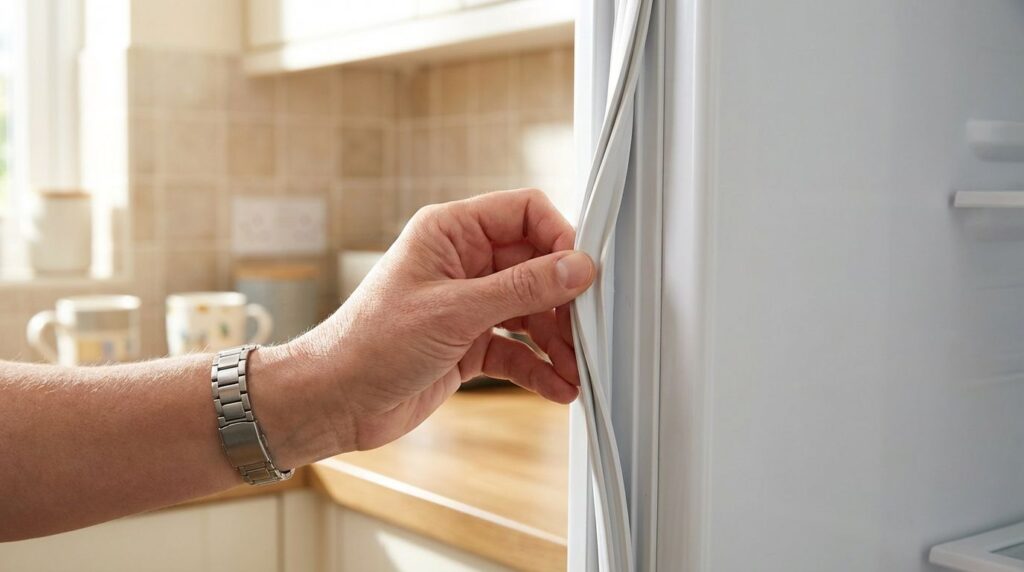
Do a visual inspection of the gasket around all four sides of the fridge door and all four sides of the freezer door. Look for:
- Cracks or splits in the rubber material
- Sections that are torn away or peeling from the door
- Areas where the gasket appears flattened, compressed, or has lost its shape
- Mould or mildew growing in the folds of the gasket (a sign of persistent moisture infiltration)
A gasket in good condition should be soft and pliable. If it feels stiff, brittle, or crumbly, the rubber has degraded and the seal will be compromised.
2. Moisture or Frost Buildup Inside the Fridge
Excessive condensation on interior walls, water pooling at the bottom of the fridge compartment, or frost building up rapidly in the freezer can all point to a failing door seal allowing warm, humid air inside. This is especially noticeable in summer when humidity levels are higher.
3. The Fridge Runs Constantly
If your refrigerator’s compressor seems to never stop running, or if you notice it running much more frequently than before, a faulty door seal is a prime suspect. The fridge is losing cold air and the compressor is compensating by running longer cycles. This directly increases your electricity consumption and accelerates compressor wear.
For more on the consequences of running your refrigerator too hard, see our post on Signs Your Refrigerator Compressor Is Failing — a gasket problem that goes untreated long enough can ultimately lead to compressor failure.
4. The Door Doesn’t Close Securely on Its Own
A refrigerator door should close and stay closed on its own when released from a slight angle — the gasket’s magnetic strip (present in most modern fridges) should pull the door shut. If the door swings open again after you release it, or if it requires a deliberate push to close completely, the gasket’s magnetic seal has weakened or the door is misaligned.
5. Warm Spots on the Door Exterior
Run your hand along the exterior of the fridge door, particularly around the edges. If you feel noticeably warmer or cooler spots, cold air is likely escaping at those points through a compromised seal.
The Paper Test: A Simple Way to Check Your Gasket
This is the quickest way to evaluate your door seal:
- Take a piece of paper (a regular sheet or a dollar bill).
- Place it so it’s halfway inside the fridge, with the door closed over it.
- Try to pull the paper out. You should feel significant resistance.
- Repeat at multiple points around the door — all four sides.
If the paper slides out easily at any point, the gasket isn’t sealing properly at that location. A strong, consistent seal should make it noticeably difficult to pull the paper out.
Can You Fix a Gasket Before Replacing It?
In some cases, a gasket that’s in otherwise good condition but has lost its shape can be restored:
- Heat treatment: Use a hair dryer on low heat to warm the gasket, then reshape it with your hands and press it firmly back into its channel. This can restore a slightly deformed gasket to its original profile. Allow it to cool in the correct position.
- Cleaning: A gasket that’s stiff or not sealing well due to buildup can sometimes be restored by cleaning. Use warm soapy water and a soft brush to thoroughly clean the gasket folds. Rinse and dry completely, then apply a thin layer of petroleum jelly to keep it pliable.
- Pressing it back into the channel: If a section of gasket has pulled out of its retaining channel in the door, press it firmly back in. On some models, the gasket is held in by a lip that you can push into place by hand.
If the gasket is cracked, torn, or severely deformed, these temporary fixes won’t hold. Replacement is the right answer.
Replacing the Door Gasket: What’s Involved
Gasket replacement is one of the more accessible appliance DIY repairs, though it requires patience and some care to do correctly.
Finding the right gasket: You’ll need the exact part number for your refrigerator model. The model number is typically on a label inside the fridge compartment (on the side wall, ceiling, or behind the crisper drawer). Use this to order a replacement gasket from the manufacturer or an appliance parts supplier.
Installation methods vary by brand:
- Snap-in gaskets: The gasket presses into a channel around the door edge. Remove the old one by pulling firmly, and press the new one in starting at a corner.
- Screw-retained gaskets: A plastic retainer strip is screwed to the door to hold the gasket. Loosen (don’t fully remove) the screws, slide the old gasket out, slide the new one in, and retighten.
- Adhesive gaskets: Less common, found on some older models. Requires cleaning the channel thoroughly before applying the new gasket with the appropriate adhesive.
Before installing, soak the new gasket in warm water for about 10 minutes to make it more pliable and easier to work with.
After Installation: Checking the Seal
Once the new gasket is installed, repeat the paper test at multiple points around the door to confirm the seal is even and secure. Also check that the door closes and stays closed on its own.
Keep in mind that some gaskets take 24–48 hours to fully conform to the door shape after installation — minor irregularities in the first day are normal.
Protecting Your Gasket: Tips for Longer Life
- Clean the gasket every 1–2 months with mild soapy water. Food spills that dry on the gasket can cause it to stick and eventually tear.
- Apply a thin layer of petroleum jelly every few months to keep rubber pliable.
- Avoid overfilling the fridge — items pressing against the door from inside can compress and deform the gasket over time.
- Don’t let children hang on the fridge door — this strains both the gasket and the door hinges.
Hot summer months accelerate gasket wear as the temperature differential between inside and outside the fridge increases. How to Keep Your Refrigerator Cool During Hot Summer Months has more tips on protecting your fridge during the warmer season.
When to Call Tri-City Repairs
If your gasket is clearly failing and you’re not comfortable replacing it yourself — or if you’ve replaced it but the fridge is still not maintaining temperature — call us. Our technicians can replace gaskets on all major refrigerator brands and will inspect the door alignment and other components to make sure the new seal sits correctly.
And if you’re wondering whether that freezer door is connected — a loose handle can actually contribute to door misalignment over time. See Why Your Freezer’s Door Handle Is Loose and How to Tighten It for more on that.
Reach us at (604) 359-5952 or online at tricityrepairs.ca.